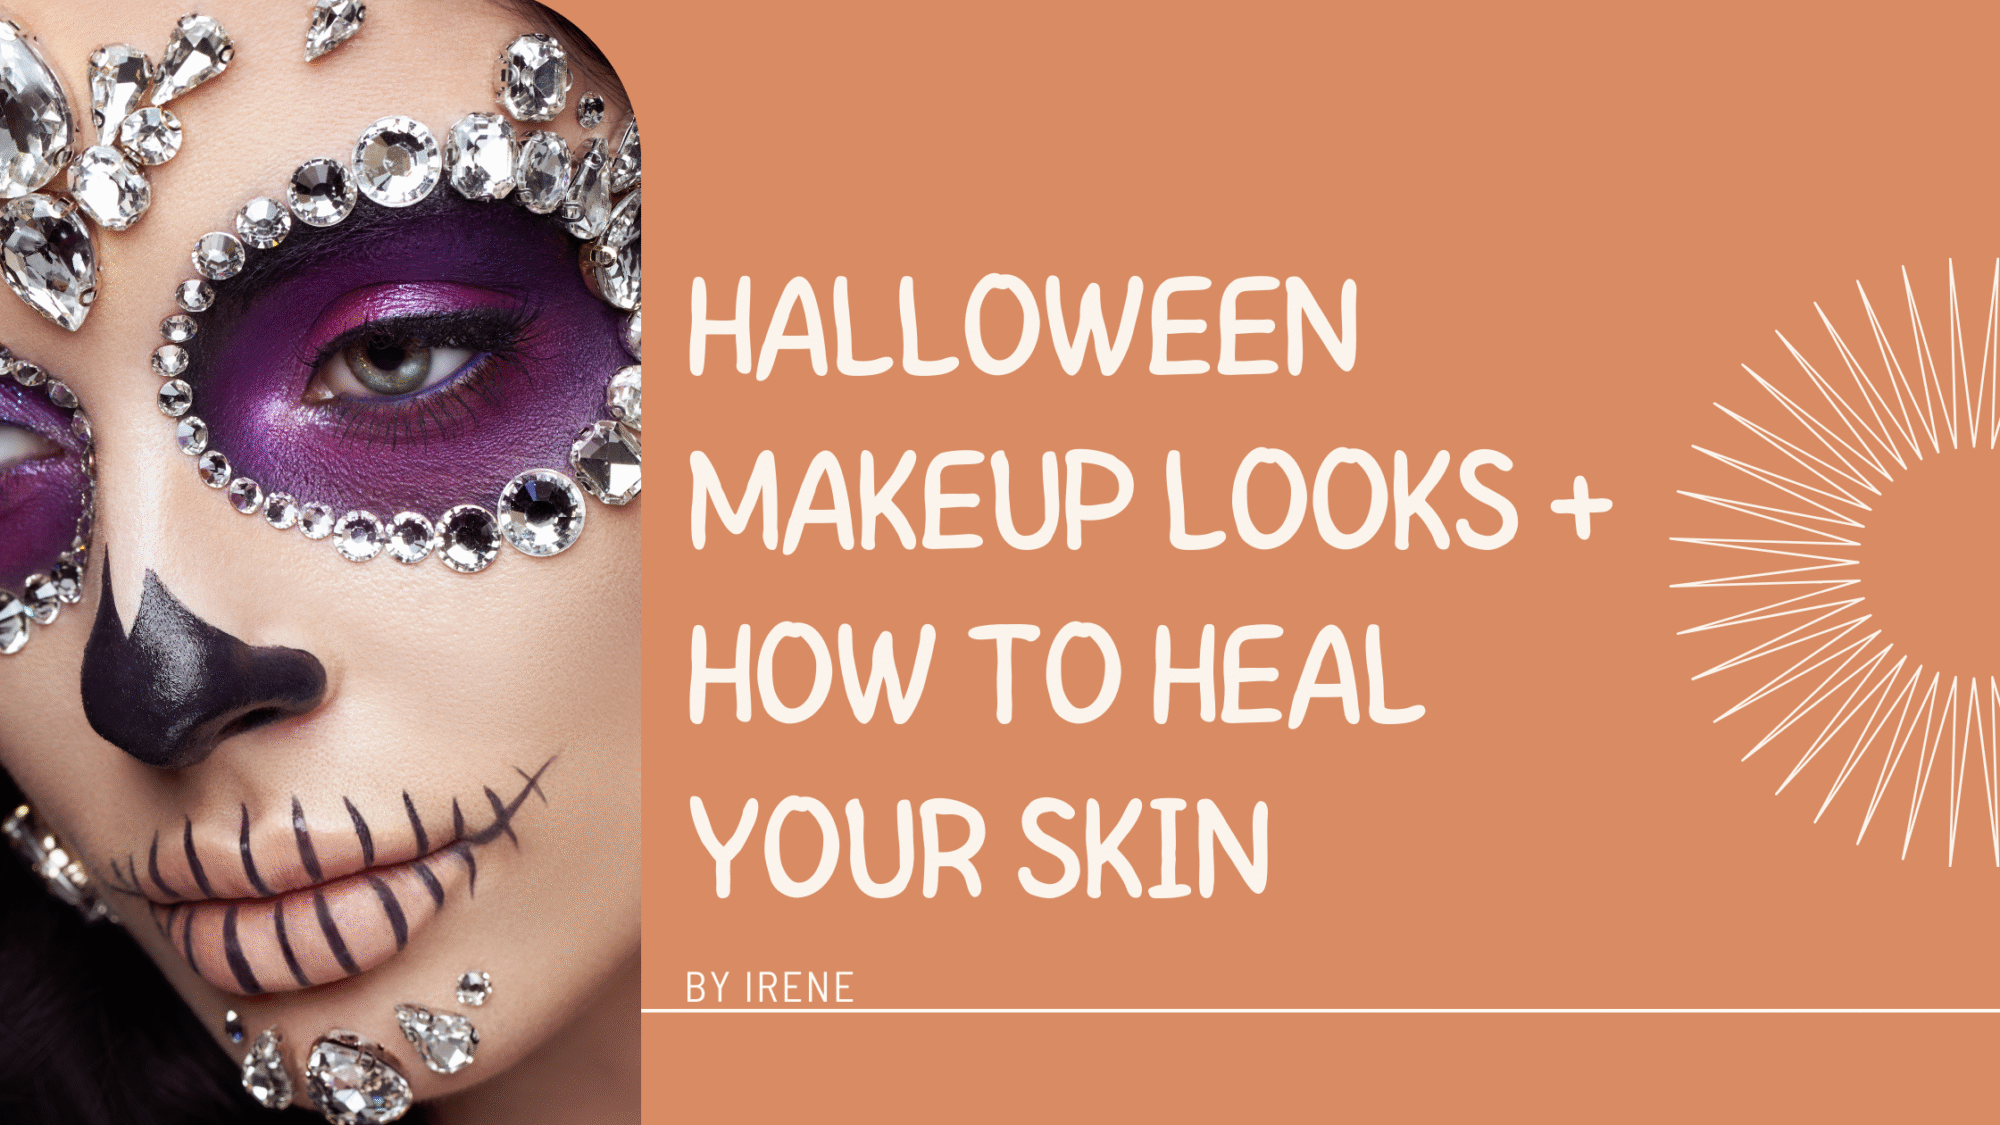
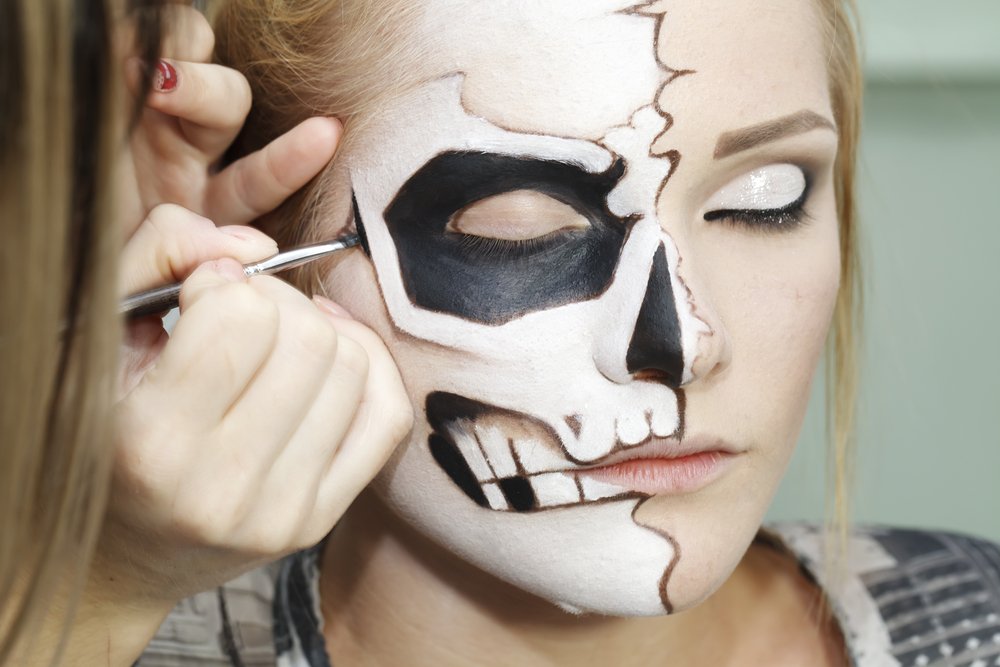
Halloween is a time to be bold, creative, and completely over-the-top with your makeup looks. Halloween makeup goes from sparkly fairies and ethereal goddesses to creepy clowns, undead zombies, and dripping blood effects. But while your costume makeup may earn you compliments at the party, it can leave your skin feeling dry, tight, irritated, or even broken out the morning after. And that’s the real horror story.
Many Halloween makeup products, whether face paint, adhesive prosthetics, or glitter-heavy palettes, contain harsh ingredients not designed for regular skin use. These formulas often clog pores, strip natural oils, and cause reactions, especially if you have sensitive or dry skin. If you don’t take the proper steps before applying them and after removing them, you might end up battling redness, flakiness, or blemishes long after the pumpkins have rotted.
In this guide, you’ll learn how to properly prepare your skin before applying Halloween makeup and how to repair and restore it afterwards. Whether you’re planning a dramatic SFX look or simply want to use full-coverage glam makeup for your costume, these tips will help you enjoy the night and keep your skin healthy and radiant afterwards.
Why Halloween Makeup Can Damage Your Skin
Even if your Halloween makeup is labelled “non-toxic” or “safe for skin,” it’s often not formulated with long-term skin health in mind. Heavy makeup sits on top of your pores, trapping oil, sweat, and bacteria underneath. SFX products like latex, glue, and fake blood can dry out the skin and disrupt its natural barrier. Add long wear time, poor ventilation (especially with masks or full-face paint), and late-night removal, and you’ve got the perfect storm for skin problems.
Some of the most common skin concerns after Halloween include:
- Breakouts and congestion from comedogenic ingredients or poor removal.
- Dry patches and irritation due to alcohol, adhesives, or water-based paints.
- Sensitivity or stinging, especially around the eyes or lips.
- Discolouration from pigmented products that stain or cause inflammation.
- Allergic reactions to latex, spirit gum, or face paint preservatives.
Fortunately, all of this is preventable with a bit of pre- and post-party planning.

Preparing Your Skin Before Halloween Makeup
If you want your Halloween makeup to look flawless and stay in place all night, without causing issues afterwards, prepping your skin is a non-negotiable first step. Think of it like priming a canvas before painting. Smooth, hydrated, protected skin will hold makeup better and suffer less damage.
Step 1: Start With Clean, Calm Skin
The best base for makeup is a clean one. Start Halloween day with a gentle, non-stripping cleanser to remove any oils or residue.
Avoid exfoliating or using actives like retinoids that day. Your goal is to keep the skin barrier happy, not vulnerable.
Gentle cleansers to try:
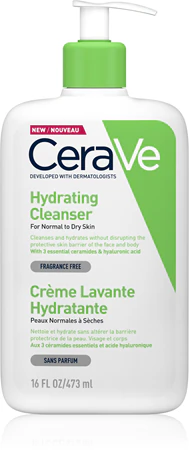
CeraVe Hydrating Cleanser (dry/sensitive skin)
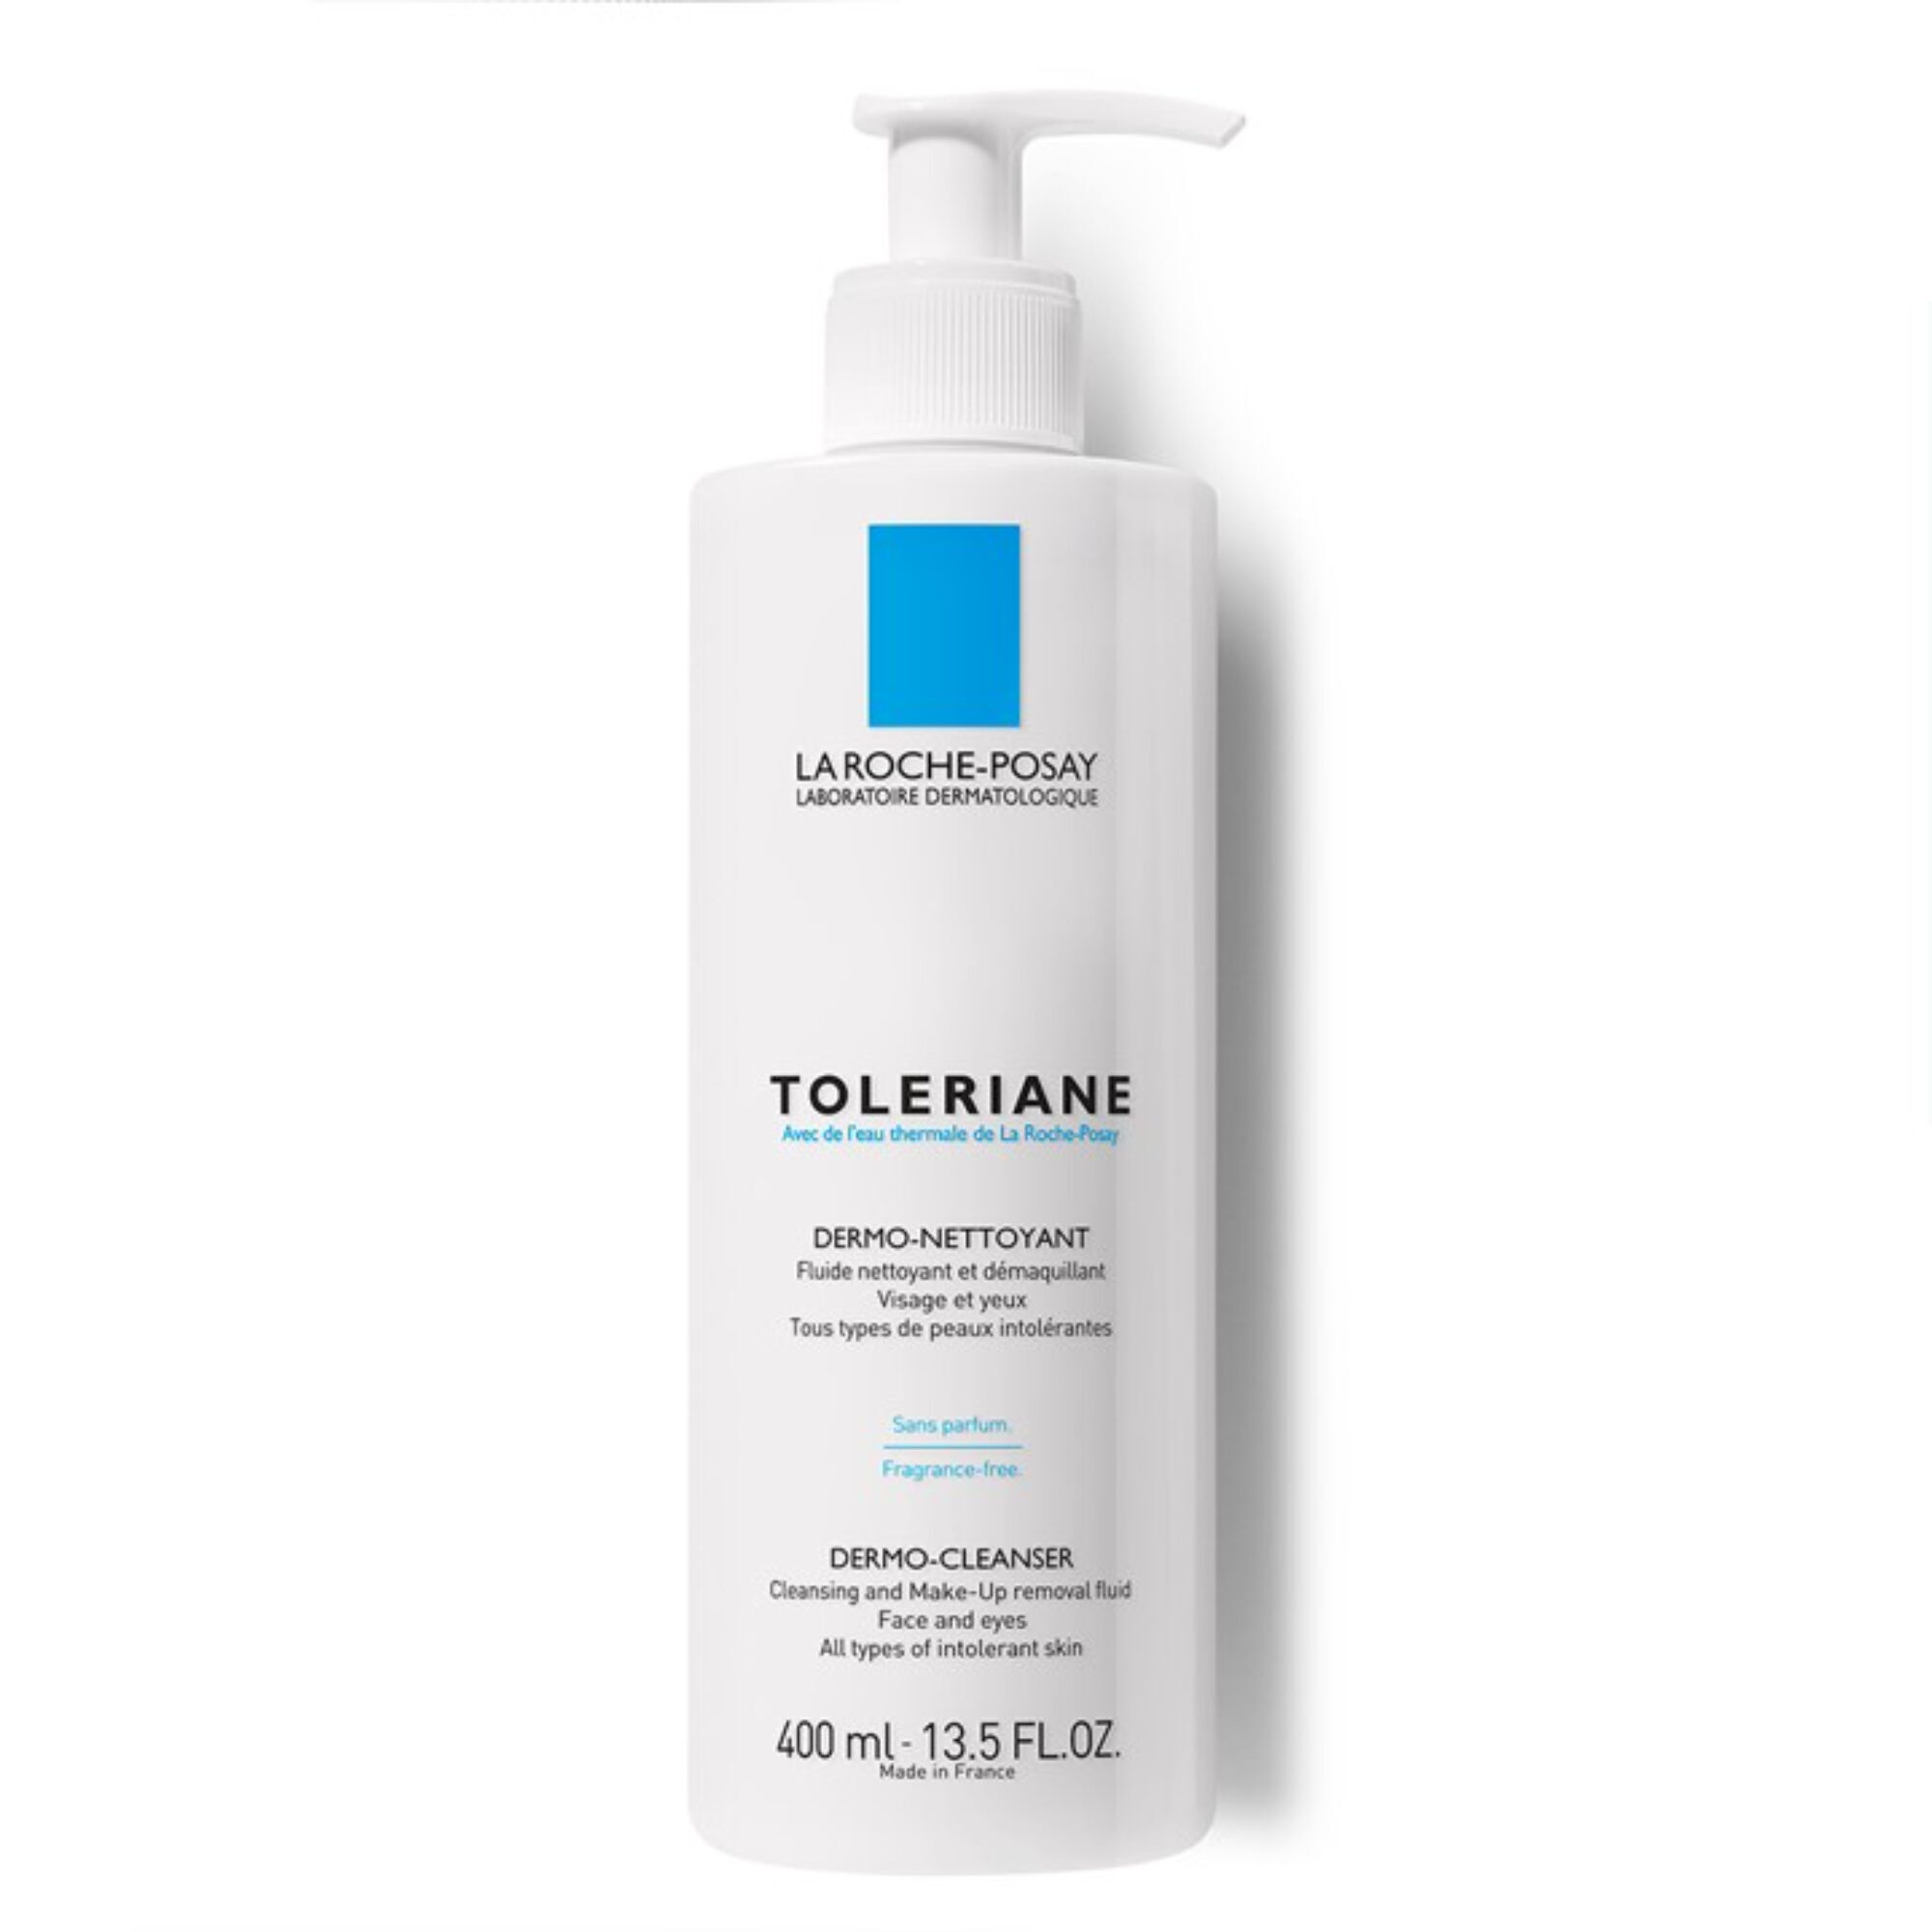
La Roche-Posay Toleriane Dermo-Cleanser
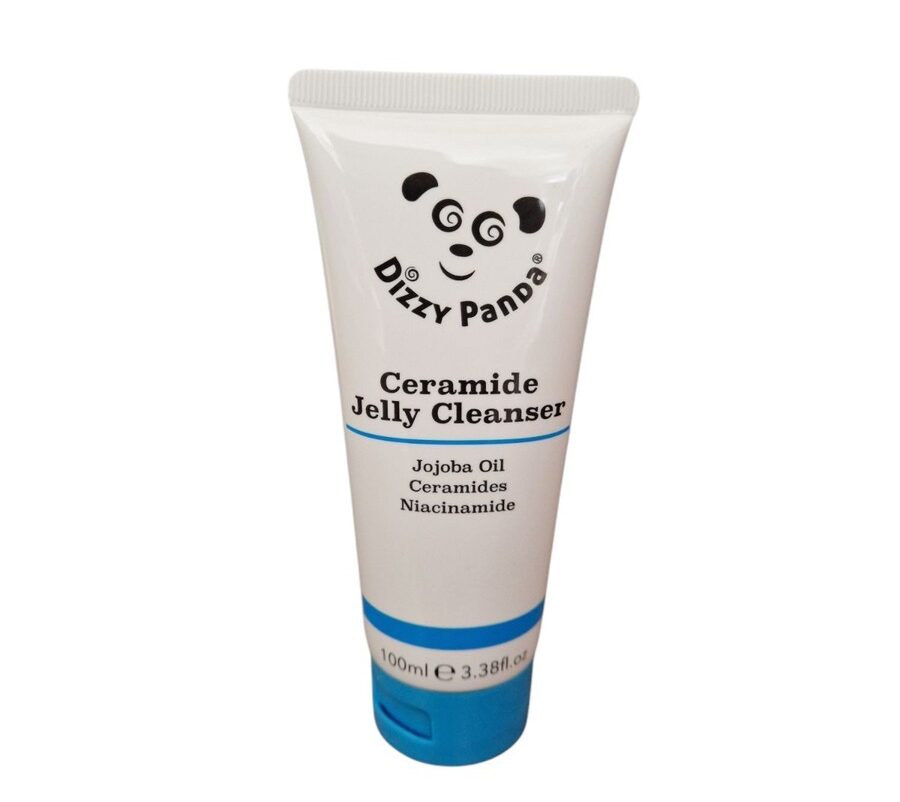
Dizzy Panda Ceramides Jelly Cleanser
After cleansing, gently pat dry with a towel, no rubbing.
Step 2: Hydrate and Moisturise Well
Hydrated skin acts like a cushion, helping makeup apply more smoothly and protecting your barrier.
Use a hydrating toner or mist followed by a serum with humectants like hyaluronic acid or glycerin. Then seal everything in with a moisturiser.
If you have very dry or mature skin, add a few drops of squalane or jojoba oil before applying primer.
Your skin should feel plump and dewy, not greasy.
Step 3: Apply a Barrier Primer
Primers are your best friend on Halloween. They don’t just make makeup stick; they act as a protective shield.
Choose a silicone-based or gripping primer to create that invisible layer between skin and makeup.
Top picks:
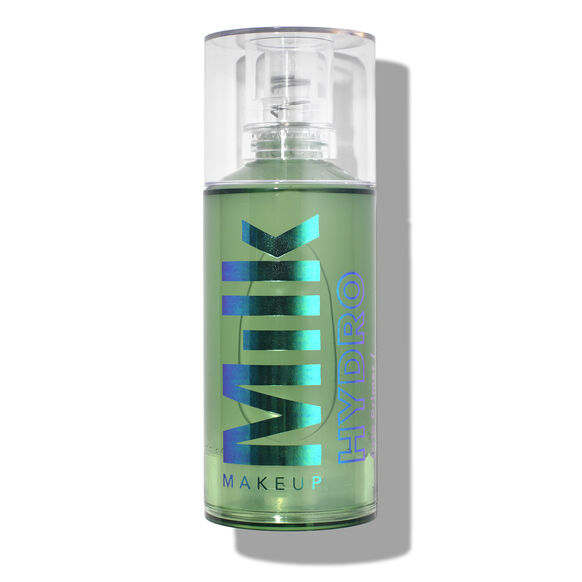
Milk Hydro Grip Primer
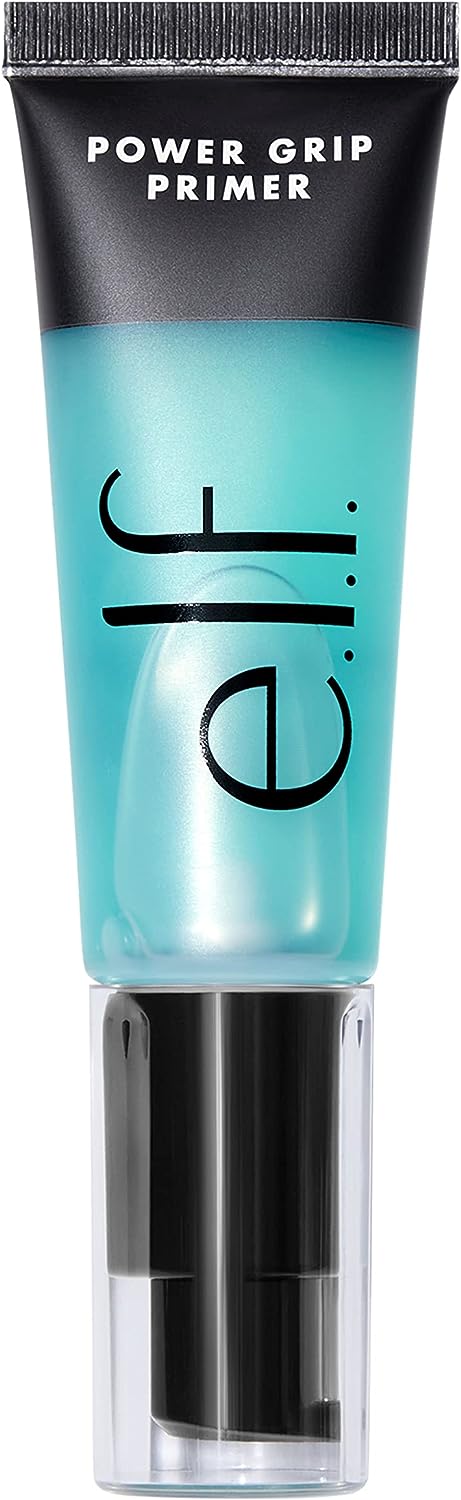
e.l.f. Power Grip Primer
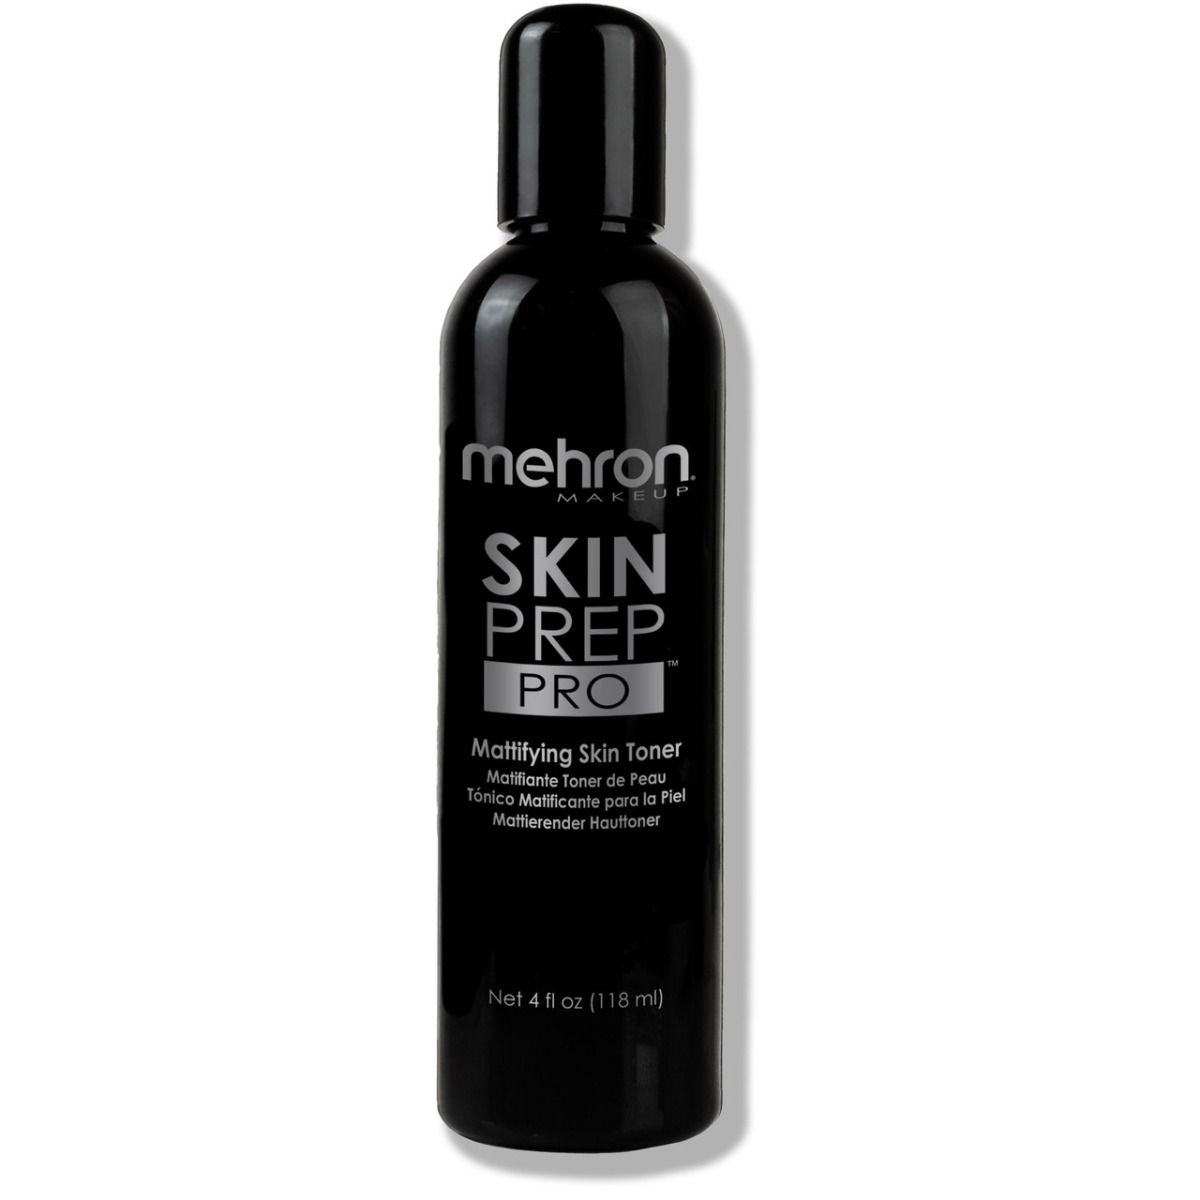
Mehron Skin Prep Pro (for SFX-heavy looks)
If you’re using liquid latex or prosthetics, consider applying a barrier spray or silicone primer first to reduce skin contact.
Step 4: Patch Test SFX Products
Before applying spirit gum, liquid latex, or face paint, test them on a small patch of skin the day before.
Even if you’ve used them before, your skin can develop new sensitivities. Don’t skip this step; it could save your Halloween.
Step 5: Clean Tools, Smart Layers
Apply your makeup with clean brushes and sponges to avoid bacteria transfer.
Don’t overload your face with layers of products. Too many textures can clog pores and feel heavy.
Try to keep it lightweight where possible, and don’t apply adhesives near the eye area.
Glitter? Use a proper glitter glue; never press it directly on bare skin.
Step 6: Seal It All The Halloween Makeup In
Once your look is complete, finish with a setting spray. This not only locks in your makeup but also helps reduce transfer and keep sweat or oil at bay.
A good setting spray can extend your wear time and reduce the amount of product that seeps into your pores.
Bonus tip: If you have very dry or mature skin, applying a thin layer of facial oil, such as squalane or jojoba oil, under your primer can add an extra level of protection and help the makeup glide on more easily without settling into lines.

Smart Application Tips While Wearing Halloween Makeup
Once your skin is prepped, it’s time to get creative! But don’t forget, how you apply your makeup matters just as much as how you prep or remove it. Clean tools are crucial. Always use freshly washed brushes and sponges, especially when working with water-based paints, pigments, or creams that can harbour bacteria.
Avoid layering too many products. While the goal may be full coverage or high drama, caking on base products, followed by paints, powders, and sealants, can suffocate your skin and increase the chance of clogged pores or irritation. Try to achieve your look with the fewest number of layers possible.
Be mindful of delicate areas like around the eyes or lips. Avoid applying latex or adhesives too close to these zones, and choose more skin-friendly formulas when possible. If you’re using glitter (a Halloween staple), use a safe glitter adhesive and avoid pressing it into the skin dry, as this can create microtears.
When your look is complete, seal it all in with a setting spray to keep your makeup in place and minimise the need for touch-ups. A good setting spray acts as a final barrier between your skin and the environment, which helps preserve both your look and your skin integrity.

How to Remove Halloween Makeup Without Damaging Your Skin
Removing heavy makeup and SFX products is where most people slip up. After a long night, the temptation is to grab a wipe and call it a day, but this can seriously damage your skin. The key is a gentle, thorough double-cleansing routine.
Removing Halloween Makeup the Right Way
Removal is often where most people go wrong.
Scrubbing with makeup wipes or going to bed with paint on is a fast track to breakouts and inflammation.
Instead, use the double cleanse method:
- Start with an oil-based cleanser or balm.
Massage it into dry skin to break down waxes, paints, and waterproof products. Rinse. - Follow with a water-based cleanser.
Use something gentle to remove residue without stripping your skin.
Avoid exfoliating or using active ingredients right after, as your skin is already sensitised.

Removing Glitter and Stubborn Halloween Makeup
Glitter can be tricky. Soak a cotton pad in micellar water and press it over glittered areas. Gently lift, don’t rub.
To get glitter off brows or hairlines, use a dab of petroleum jelly or a piece of tape to lift any stragglers.
If you’ve used prosthetics, soak the area with an oil-based remover before gently peeling it off. Never rip it off dry.
After cleansing, gently pat your face dry with a soft towel. Never rub your skin, as it is likely to be inflamed or sensitive. This is the time to skip all your usual actives like retinol or AHAs and focus entirely on calming and hydration.
Did You Know?
The tradition of wearing scary faces on Halloween comes from the old Celtic belief that disguises could ward off evil spirits roaming the earth on October 31st. Today, makeup takes the place of carved turnip masks (yes, turnips came before pumpkins!) — giving us everything from eerie skeletons to glamorous witches.
Post-Halloween Skin Recovery: Restore and Repair
Once your makeup is off, it’s time to pamper your skin and help it recover. Start by misting with a soothing toner or applying a calming sheet mask. Look for ingredients like aloe vera, centella asiatica, panthenol, or green tea to calm inflammation and reduce redness. Keep it chilled in the fridge for an added depuffing effect.
Next, apply a serum that supports barrier repair. Niacinamide is ideal for reducing redness, balancing oil, and strengthening your skin’s defences. Layer on a nourishing moisturiser with ceramides, peptides, or squalane to lock in hydration and encourage repair.
For extra comfort, use a sleeping mask or rich night cream to seal everything in. Overnight products like Cosrx Propolis Honey Sleeping Mask or La Roche-Posay Cicaplast Baume B5 work beautifully for skin in recovery mode. If your skin is especially raw or sensitive, Eucerin Aquaphor Healing Ointment can be used on specific areas for healing and moisture-locking.
Skin Recovery Over the Next Few Days
Keep your skincare routine minimal for at least 48 hours.
Skip exfoliants, actives (like retinol), and strong treatments. Let your skin rebuild its barrier naturally.
Use gentle products with ceramides, peptides, and humectants. Drink plenty of water and get extra sleep; your skin heals best at night.

Gentle DIY Skin Treatments to Soothe the Scare
If you prefer a natural route or want to give your skin a treat at home, try these DIY remedies:
Oatmeal + Yoghurt Mask
A simple oatmeal mask made with colloidal oatmeal, honey, and plain yoghurt can calm irritation and restore moisture. Mix colloidal oatmeal, plain yoghurt, and a bit of honey. Leave on for 10–15 minutes to calm inflammation.
Aloe + Cucumber Gel Mask:
For a refreshing post-Halloween mask, blend fresh cucumber with aloe vera gel and apply it to your face for 15 minutes. Blend fresh cucumber with aloe vera gel. Chill before applying for a cooling, anti-redness boost.
Coconut Oil + Turmeric Spot Soothe:
If your skin has dry patches or feels tight, a coconut oil and turmeric spot treatment can help soothe, though avoid this if you’re acne-prone.
Remember to always patch test any DIY mixture, even if it’s made from gentle ingredients.
Can I just use my everyday makeup?
Yes, but heavy coverage or dramatic looks often require face paints or SFX products. Use a protective base underneath either way.
Can I exfoliate after Halloween?
Wait 48–72 hours before using any acids or retinoids to allow your skin to recover.
How do I remove glitter safely?
Soak a cotton pad with micellar water, press gently, and use tape or a jelly-based balm for stubborn glitter without rubbing.
Final Thoughts
Halloween is your time to play, create, and completely transform, but your skin still needs love, protection, and care. By preparing your skin with nourishing layers, choosing safer products, and removing everything gently, you can enjoy your costume without compromising your complexion. The party may last a night, but your skin lasts a lifetime, so treat it like your most important costume of all.

Bear in mind that some of the links in this post are affiliate links and if you go through them to make a purchase I will earn a commission. Keep in mind that I link these companies and their products because of their quality and not because of the commission I receive from your purchases. The decision is yours, and whether or not you decide to buy something is completely up to you.